FREE SHIPPING ON ORDERS OVER $100! | SEE IF YOU QUALIFY FOR A BLASTONE CREDIT ACCOUNT x

Superior know how

Categories

DIY: 5 Easy Steps To Set-Up A Temporary Blasting Enclosure

DIY: 5 Easy Steps To Set-Up A Temporary Blasting Enclosure

Creating a temporary blasting enclosure on jobsites is a common practice, especially when you need a controlled environment for small projects or occasional blasting tasks. Here’s a straightforward guide to setting up your temporary blasting area using shipping containers.

1.  VENTILATION

Proper ventilation is critical for visibility and safety. If the blaster cannot see what they’re doing, it compromises the quality of work and increases the risk of accidents. Poor ventilation can lead to rework, costing time and money. Ensure that the airflow passes directly past the blaster and ventilates from the container’s doors to the back.

2.  AIR FLOW

For optimal airflow, direct it past the blaster and ensure it ventilates out the back of the container. When using ducting, it’s typically installed at the front opening of the container. However, if the ducting operates with a suction vacuum, it mainly pulls in fresh air, which isn’t effective for dust removal. If a fan is used to blow air inward, creating positive pressure, it often causes dust clouds to accumulate at the back, limiting visibility.

To efficiently capture dust and prevent abrasive from escaping, install a baffle wall that extends from the top of the container to 18 inches off the floor, placing it approximately 12 inches from the back of the container. Next, cut a 12 to 20-inch hole in the back of the container near the top and attach a ventilation duct to this opening.

To generate the necessary airflow, use a simple Blue Wizard fan. For more permanent setups or enhanced dust removal, consider renting a dust collector to improve the system’s efficiency.

3.  LIGHTING

Excellent lighting is essential for clear visibility during blasting. Install 4-5 lights around the top rim, angled toward the center of the container. This setup ensures the blaster can see their work clearly, reducing the need for rework.

4.  STOP ABRASIVE ESCAPING

To prevent abrasive from exiting the enclosure, install simple doors with chicken mesh and filter sheeting or shade cloth. This setup allows airflow and natural light while containing the abrasive. Having a filter sheeting over the doors will still allow good airflow and some natural light into the area.

5.  RECOVERING ABRASIVE

To collect abrasive, add a piece of plywood at a 45-degree angle near the back baffle area. This setup helps the abrasive flow back into the blast area, making it easy to collect with a shovel for disposal. Consider adding a lean-to on the container’s side for a blast pot and easy disposal.

Note 1: This set up is not a blasting area that allows you to recycle your abrasive, if that is your aim, you will benefit from a proper blastroom. We can help you with that, but it typically involves a discussion to get your needs met.

Note 2: This is strictly touching on a blasting area, talk to us if you need a painting set up, a painting area has to be explosion-proof and requires some other considerations

Proper Ventilation: Dos and Don’ts

POORLY IMPLEMENTED VENTILATION

It’s common to find ducting installed at the entrance of blasting containers. When ducting uses suction, it primarily captures incoming fresh air, which could otherwise flow into the container naturally. If the system blows air inward, creating positive pressure, it often results in dust clouds accumulating near the back wall, reducing visibility for the blaster. Whether using positive or negative pressure, this setup is typically ineffective for proper ventilation and dust control.

PROPERLY IMPLEMENTED VENTILATION

Attach ducting to the back top of the container and use negative pressure (vacuum extraction) for effective dust removal.

HAVE QUESTIONS? CONTACT BLASTONE

For more detailed advice or if you’re setting up a painting area, which requires explosion-proof setups, contact our service representatives. We’re here to help!

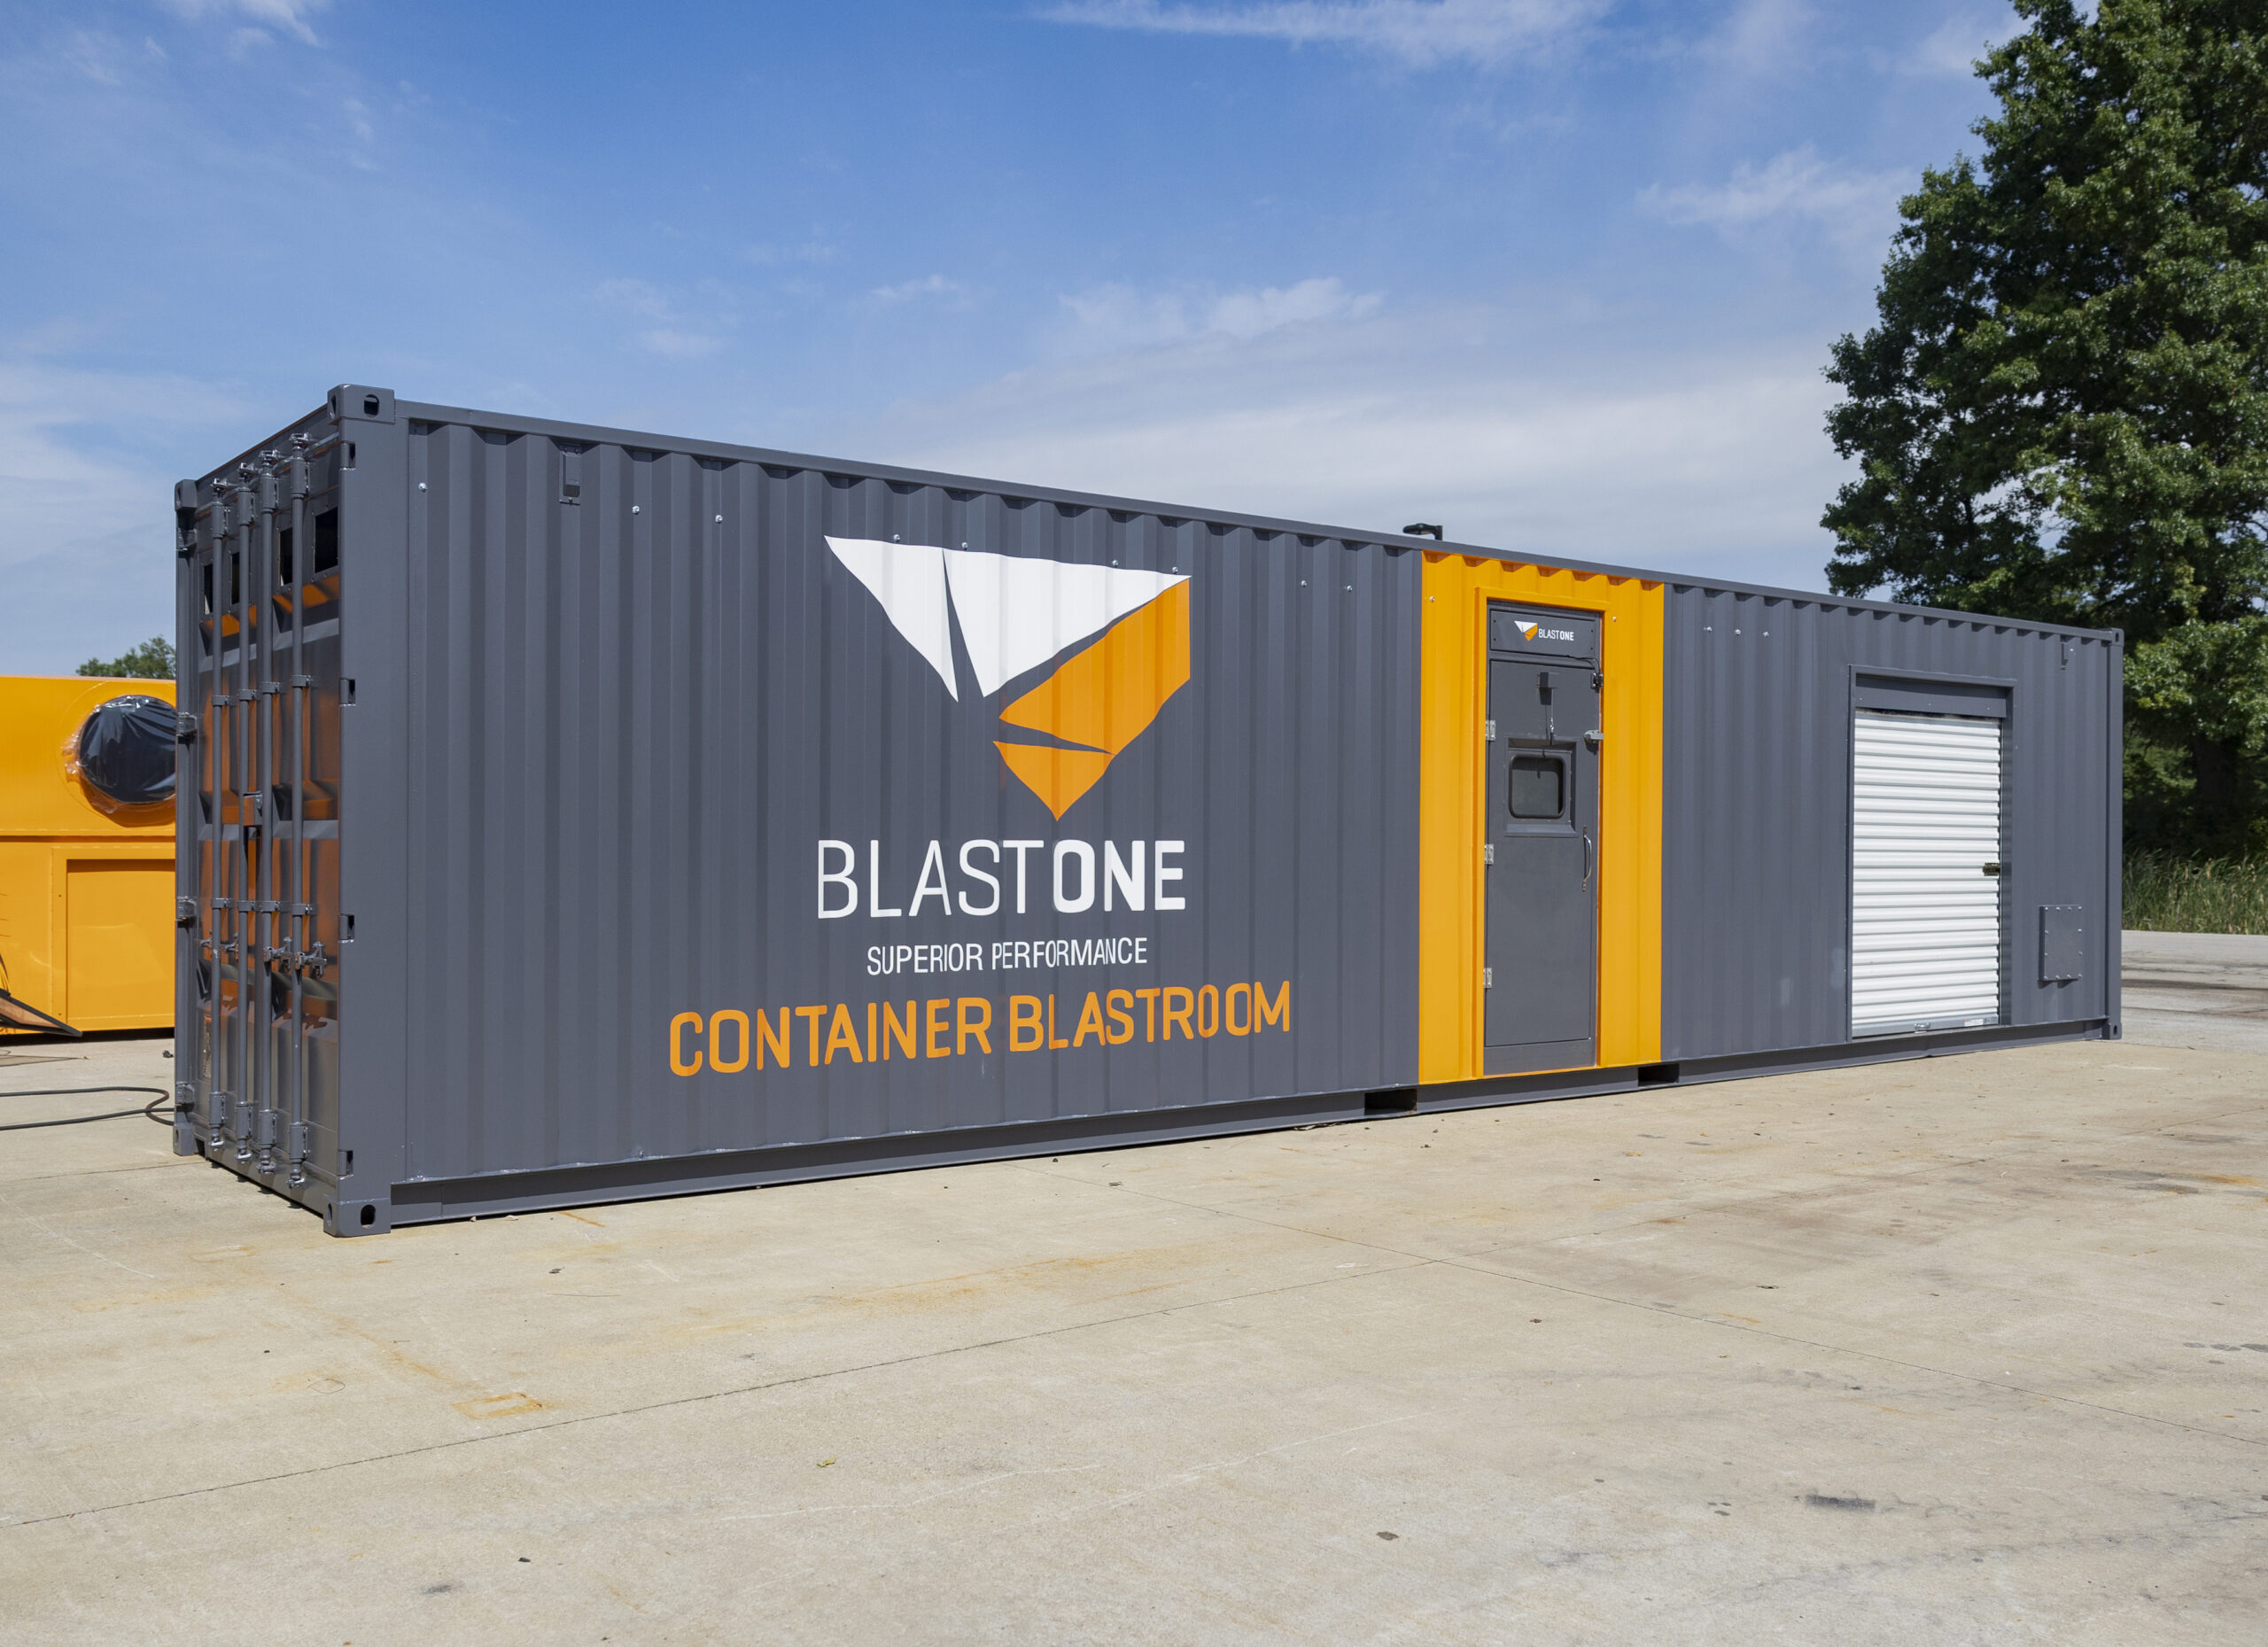
Don’t want to build the container yourself? We’ve got you covered! Check out our Portable Shipping Container Blast Room, designed for those who need a quick, reliable, and fully self-contained blasting solution. Available in 20 ft and 40 ft sizes, these modified high-cube shipping containers offer a watertight, weatherproof design with partial abrasive recovery. Whether you need a fully assembled unit or a retrofit kit, our portable blast rooms ensure a simple setup and maximum portability. Get an instant quote today!

4 PRINCIPLES and 3 RULES OF EFFECTIVE BLASTING VENTILATION

Many contractors mistakenly view ventilation as just a compliance expense, but in reality, effective ventilation enhances safety and boosts productivity, ultimately paying for itself. To support your workforce’s health, safety, and efficiency, we provide essential principles and guidelines for optimizing your ventilation systems.

4 PRINCIPLES OF PROPER VENTILATION:

  1. Maintain air quality in the operator’s breathing zone.
  2. Ensure good visibility by extracting dust and illuminating the work area.
  3. Dilute contaminants to prevent explosive levels and use gas monitors.
  4. Protect against noxious dust or lead contaminants escaping the enclosure.

3 RULES FOR VENTILATION DESIGN:

  1. Air should be brought in high and extracted low, leveraging gravity to remove contaminants.
    • First, solvent fumes and dust are heavier than air. High to low extraction uses gravity to assist in their removal, and
    • This helps limit the exposure of these contaminants in the breathing zone of the operators. Ventilating upward will naturally lift contaminants and increase the odds of compromising PPE equipment and/or the vision of operators.
  2. Ensure the system delivers the correct airflow for the work area, considering the type of contaminants, work, and space size. This is measured in changes per hour or air velocity through the work area.
  3. Capture or exhaust hazardous dust or fumes safely to comply with environmental or OSHA regulations.
    • If work area is encapsulated, the cross-sectional area should be as small as possible.

SUMMARY:

  • Ventilation: Ensure proper airflow for visibility and safety.
  • Air Flow: Use a baffle wall and ventilation ducting to control dust and abrasive.
  • Lighting: Install adequate lighting for clear visibility during blasting.
  • Stop Abrasive Escaping: Use simple doors with mesh and filter sheeting.
  • Recovering Abrasive: Add a plywood angle for easy collection of abrasive.

Design Considerations For Containment And Ventilation

FREE DOWNLOAD!

Download Report
Add to quote:

Registration is required to create a Quote.

Click Here to Login or Register.

Add to existing quote:

Add to Quote

Add to a new quote:

Send the request

BlastOne says
Thank you for submitting your quote. A sales representative will follow up with you asap.
Share Quote via Email

Share