3 Common Reasons for Coupling Failure
Incorrect coupling and hose selection
- Refer to the blast one catalogue pages 132-137.
- When fitting the coupling to the hose, confirm that the coupling is tight to the first spiral.
- All rubber hose is manufactured on a mandrel – and the ends are guaranteed within 5% variation to size specification, but the middle may be greater variance. So make sure to check tolerance if cutting short lengths or refuting existing hose.
Incorrect hose fitting
- Hose must be cut clean and square. Use the clean-cut hose tool – don’t use a hacksaw or hand knife.
- Use of sealant is possible but not mandatory. The purpose of sealant is to make fitting the coupling easier and to help prevent minor air leaks. It is not an adhesive. Use of lubricants such as grease, or soap is absolutely prohibited. Specialist hose coupling lubricant that forms a chalk when dry is suitable. If any sealant is used it must be completely dry before the hose is placed into service.
- The coupling must be fully installed all the way to the shoulder.
- Ensure that only the correct screws are used and that they are carefully installed according to hose fitting guide.
- This step is often overlooked – the rule of thumb is that the screw should be fully seated and then one additional turn past that point. This can be validated by having a finger inside.
Incorrect hose placement
- Excessive strain applied to the hose. If using multiple hoses, this is particularly important on the first hose from the pot, as this is where the strain is greatest. Ensure that no strain is directly applied to the coupling and there is enough slack in the hose. You may need to restrain the hose to the scaffold or other structure to prevent excessive whip.
- All rubber hose is manufactured on a mandrel – and the ends are guaranteed within 5% variation to size specification, but the middle may be greater variance. So make sure to check tolerance if cutting short lengths or refuting existing hose.
- Excessive abrasive flow rates, or water flow rates with incorrectly set up wet blast equipment will cause unnecessary whipping and premature coupling failure.
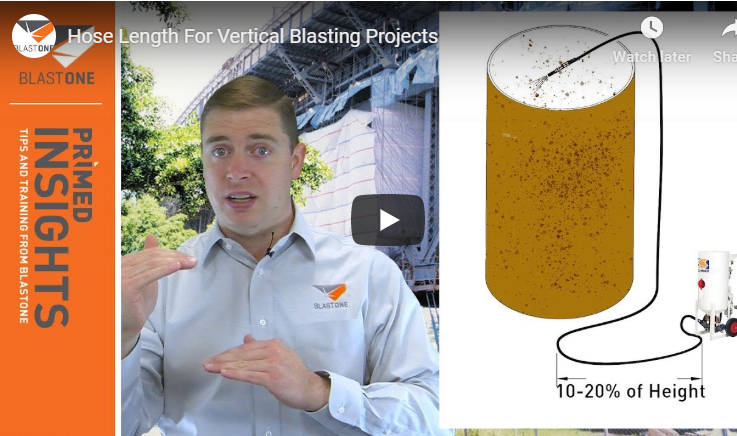
- For elevated blasting, it’s important that there is at least 10 foot of horizontal hose before the hose rises into the air. In these situations, consider the use of an abrasive cut-off switch so that the abrasive in the vertical section of the hose does not fall back and cause whipping on start-up.
We want to know what questions, challenges, and problems you’re facing – either with blasting or painting – that we may be able to solve.
If you find our insights helpful, please subscribe and share our channel.
 My Account


